By David Geis, Product Manager

LED lamps are at full intensity when turned on, and they can be used immediately for examinations. But for a short time after the lamp is turned on, the UV-A intensity drops before leveling off. The time before the intensity levels off is the “stabilization time”. That’s how long the lamp should remain on before checking UV-A intensity to make sure the reading is accurate.
According to ASTM E3022, measurement of stabilization time is the responsibility of the lamp manufacturer during model-type qualification testing. That’s because LED stabilization is determined by the design of the lamp and how the LEDs are cooled, not by individual components. The stabilization time will not change significantly between individual lamps of the same model, but with the new specs from Airbus, users who are required to comply with Airbus AITM 6-1001 are now required to check their UV stabilization performance monthly.
Stabilization of an LED lamp is defined as three measurements taken at 30-minute intervals that are within +/-3% variance. The actual instructions can get complicated; therefore, we have developed a simple procedure that will work for any LED UV-A lamp:
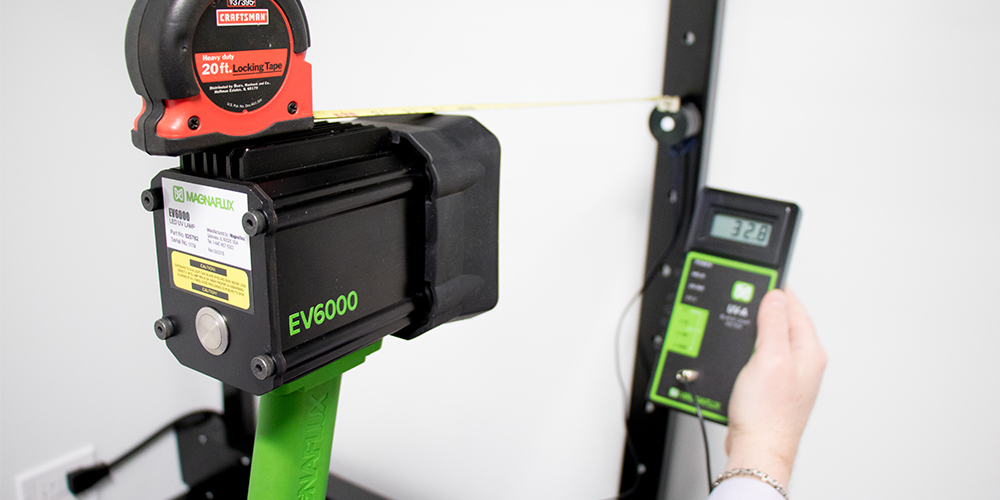
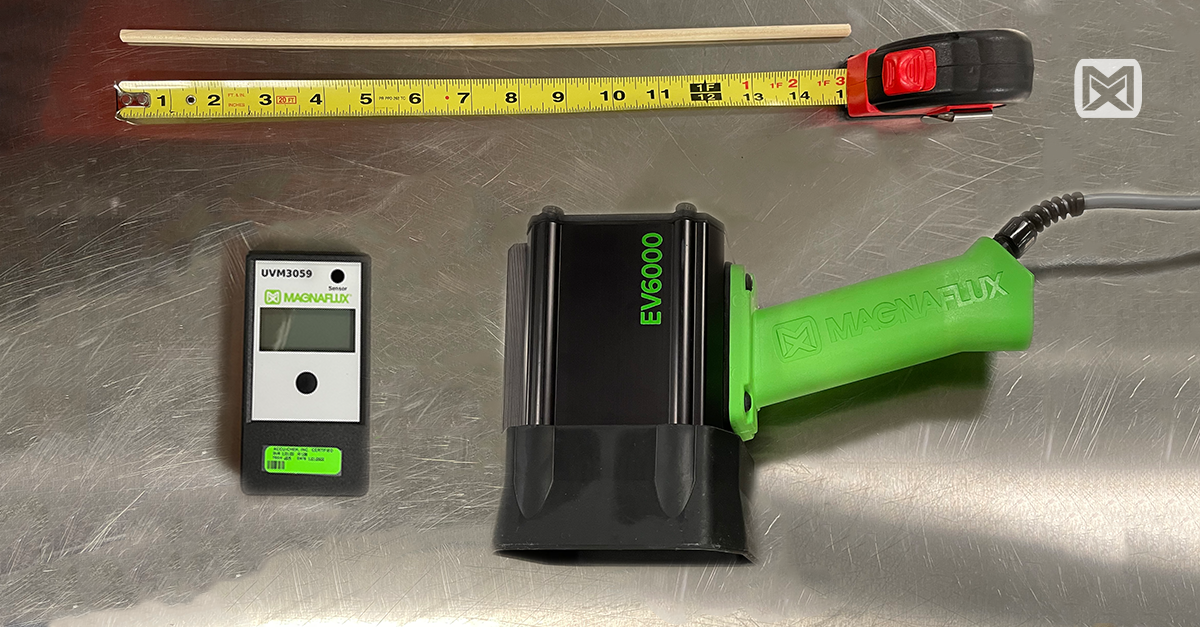
When checking stabilization time, it’s very important to use a fixture to hold the lamp in place for the full test. UV-A intensity follows the inverse-square law, so any small changes in the distance to the UV-A meter are multiplied and will skew the results. This test cannot be done by hand. Below is the equipment that could be used to test UV-A intensity:

To see how this procedure works, let’s look at some data. For this example, we logged the UV-A intensity every 5 minutes, up to 75 minutes total elapsed time.
|
Elapsed Time (min) |
UV-A Intensity (µW/cm2) |
|
0 |
4950 |
|
5 |
4670 |
|
10 |
4580 |
|
15 |
4530 |
|
20 |
4500 |
|
25 |
4470 |
|
30 |
4460 |
|
35 |
4450 |
|
40 |
4430 |
|
45 |
4420 |
|
50 |
4420 |
|
55 |
4410 |
|
60 |
4420 |
|
65 |
4420 |
|
70 |
4410 |
|
75 |
4410 |
To check for stabilization, you need three measurements taken at 30-minute intervals:
Using this procedure means you can only determine stability at 5-minute intervals. Taking readings more frequently could result in a faster stabilization time, but it also means more work and calculations for the user.
Published April 17, 2018, updated March 22, 2022
JOIN OUR MAILING LIST TO RECEIVE THE LATEST NDT INSIGHTS AND ARTICLES FROM MAGNAFLUX
The Magnaflux team is happy to assist you with your nondestructive testing needs. Please opt-in to Tracking cookies to use the contact form by clicking Cookie Settings and updating your preferences to complete our contact form. If you do not wish to opt in, you can connect with us at support@magnaflux.com or call us at +1-847-657-5300
155 Harlem Avenue
Glenview, IL 60025, USA
Telephone: +1 847-657-5300
Contact Magnaflux Customer Service